



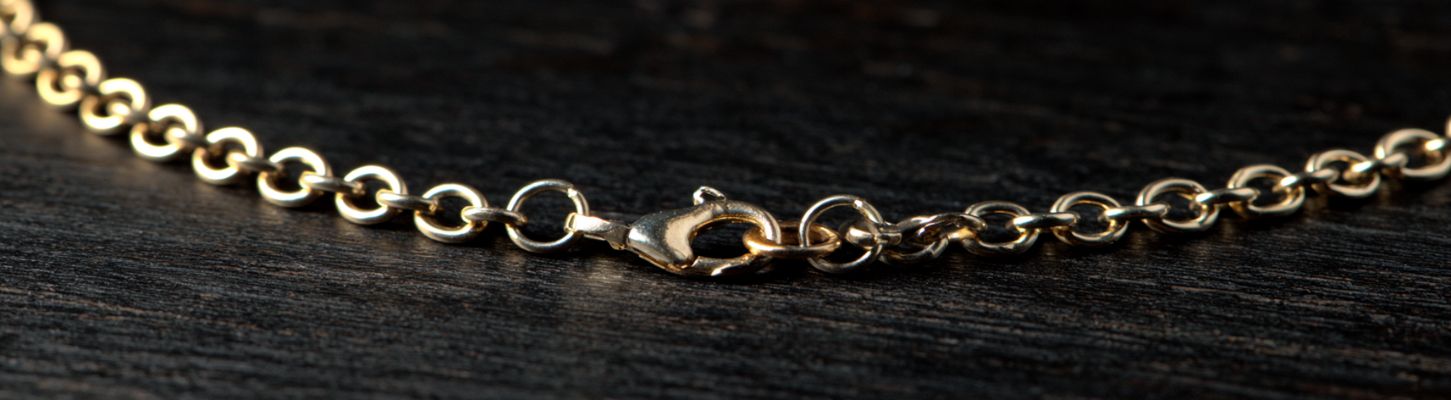
There's something deeply satisfying about wearing a necklace you made with your own hands, and learning how to make a chain necklace is the perfect place to start. You don't need a workshop, expensive equipment, or years of practice. With a length of chain, a few jump rings, a clasp, and two pairs of pliers, you can have a finished piece around your neck in less than an hour. Better yet, once you know the basics, you can size it, style it, and personalize it however you like.
In this guide, we will walk you through the tools and materials you need, two beginner-friendly methods (one using a ready-made link chain and one where you build the chain link by link), how to choose the right chain style and necklace length, how to finish your piece so it holds up to daily wear, and how to add charms and pendants that make it your own. Let's dive deeper into the details.
Explore Our Categories


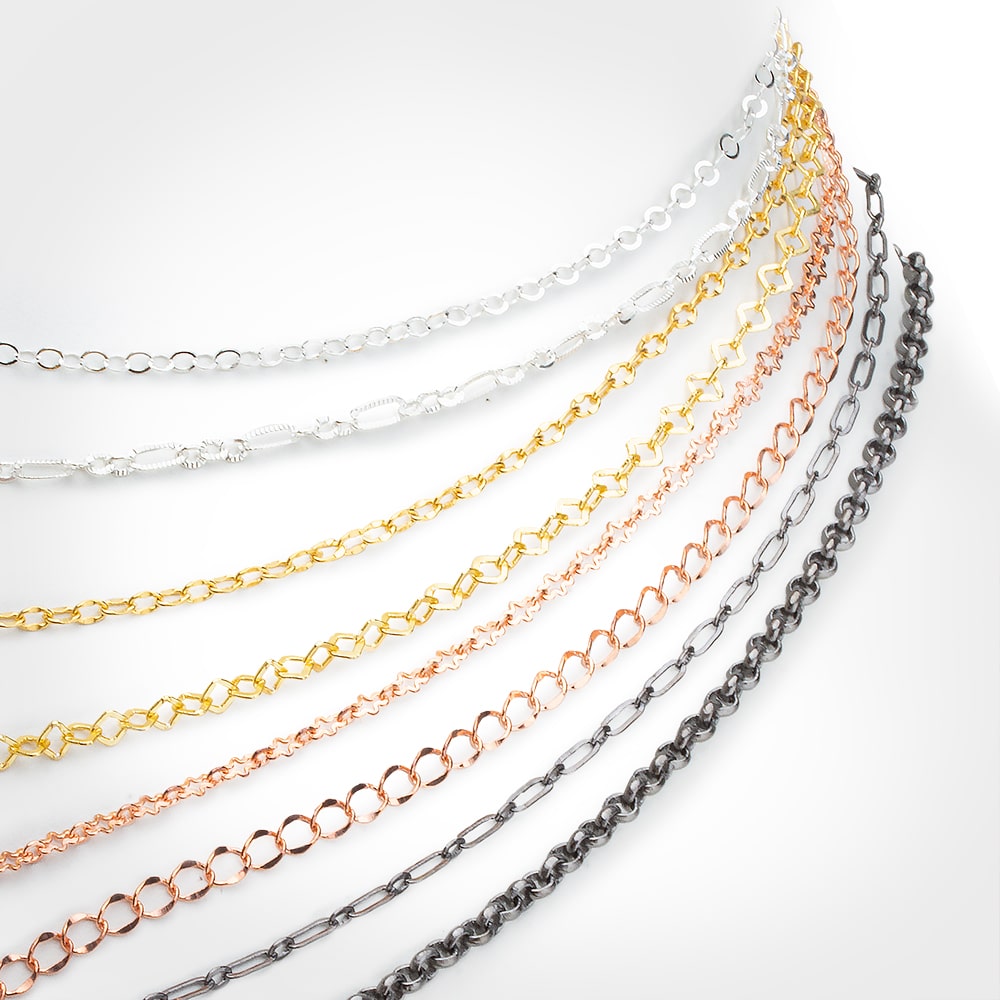
Table of contents
What You'll Need: Tools and Materials
Great work comes down to having the right gear on hand, and honestly, you can get going without any fancy setup at all. A small, well-chosen kit will carry you through almost any design.
Here's what you'll want to grab
-
A link chain in whatever style and finish speaks to you. Our link chain comes in cable, rolo, curb, oval, and other looks.
-
You'll also need jump rings to join the clasp to your chain, and pre-opened ones make life a lot simpler when you're just starting out.
-
A clasp, such as a lobster clasp, a toggle, or a magnetic style.
-
Two pairs of pliers (chain-nose or flat-nose) for opening and closing rings.
-
Wire cutters to trim the chain to length.
-
Optional: round-nose pliers and jewelry wire if you plan to build links yourself, plus headpins and charms for decoration.
Before diving in, spread your materials across a soft, clean workspace. A small tray keeps tiny parts from rolling away.
Method 1: Make a Chain Necklace From Pre-Made Link Chain
It's the quickest way in, and the spot I'd point any newcomer toward first. You are using a finished chain, so the work is mostly cutting and connecting. It's a fantastic method for putting together your own necklace, no soldering required.
Follow these steps:
-
Measure and cut: Decide on your finished length, then cut the chain with wire cutters. Remember that the clasp and rings will add a little length, so trim about half an inch shorter than your target.
-
To open a jump ring, grip it with one pair of pliers in each hand: Rotate one hand toward yourself while pushing the other back, letting the ring swing open to the side. Do not pull the ends straight apart, or the ring will lose its round shape.
-
Attach the clasp: Thread the chain's end link plus your clasp's loop onto that open ring.
-
Close the ring: Seal it up by twisting the two ends back toward each other until they line up cleanly with no space between them. Run a fingernail over the joint; if you feel a bump, twist a touch more.
-
Finish the other end: Grab a second jump ring, slide the final chain link onto it, and twist it shut. This ring acts as the catch for your clasp.
That is it. You now have a finished necklace ready to wear. This same approach is the foundation of how to make chain jewelry of all kinds, from simple strands to layered, charm-filled designs.
Method 2: Build a Chain From Wire Links
Craving more say over the final design? Assemble your chain one link at a time. This method takes more practice, but it lets you set the size, spacing, and rhythm of every loop. It is the classic answer to the question of how to make a chain entirely by hand.
You have two paths here. The simplest is to connect a pile of jump rings into a row. The more advanced path is to form your own links from wire.
To build with jump rings:
-
Open a jump ring, thread it through a closed one, then close it. You now have two connected links.
-
Keep adding rings one at a time, alternating open and closed, until the row reaches your desired length.
-
For a fuller look, link rings in a two-into-one or three-into-one pattern. This is the start of chainmaille weaving, a technique used to make chains for centuries.
To form your own wire links, wrap jewelry wire around a round rod (called a mandrel) to make a coil, then cut the coil into individual rings. Each ring becomes a link. This is the traditional way crafters have learned how to make chains, and it gives every loop a handmade character.
Choosing Your Chain Style
The chain you pick sets the whole personality of the piece. Here are popular styles and the looks they suit:
-
Cable chain: simple oval links, clean and classic. Works for everyday wear and pendant necklaces.
-
Rolo chain: round, uniform links with a slightly chunky feel. Great on its own or layered.
-
Curb chain: flattened, interlocking links that lie smooth against the skin. A bolder, modern look.
-
Oval and elongated links: airy and elegant, perfect for delicate designs.
-
Cross and fancy links: decorative shapes that stand out without a pendant.
Not certain which to pick? A slim cable or rolo chain is a safe place to begin. They flatter almost any pendant and are forgiving to work with. Browse the full link chain collection at Atlanta Findings Company to see each style in silver, gold, rose gold, and black gold finishes.
Picking the Right Necklace Length
Where a necklace falls on you depends almost entirely on this one measurement. Use this quick guide to choose:
|
Length |
Name |
Where it sits |
|
14 in |
Choker |
Snug at the base of the neck |
|
16 in |
Princess |
At or just below the collarbone |
|
18 in |
Standard |
A little below the collarbone |
|
20–24 in |
Matinee |
On the chest |
|
28–36 in |
Opera |
Mid-chest to below the bust |
When in doubt, 18 inches is the most versatile choice for adults and pairs well with most pendants. Add an extender chain if you want one necklace to work at several lengths.
Finishing and Securing Your Necklace
A necklace is only as strong as its weakest link, so finishing matters. Take your time on the connection points.
Keep these tips in mind:
-
Close rings fully: Any gap can snag clothing or let the chain slip free. Both ends should meet flush.
-
Match the ring strength to the chain: A heavier chain needs a sturdier jump ring so the piece holds up to daily wear.
-
Match your clasp to the task: A lobster clasp holds tight and stays simple to fasten. A toggle adds a decorative front. Magnetic clasps are friendly to anyone who finds tiny catches tricky.
-
Test it: Give the finished necklace a gentle tug at each connection before you wear it or gift it.
Adding Pendants, Charms, and Personal Touches
Once the chain is built, the fun begins. This is the moment a basic strand turns into something that's truly your own.
A few directions to play with
-
Drop one pendant from the middle link to anchor a crisp focal point.
-
Use headpins to make beaded dangles, then attach them with jump rings.
-
Space several charms evenly for a playful, collected look.
-
Mix metals or finishes for a modern, layered style.
Small choices like these are what turn a basic strand into custom chain jewelry that reflects your taste.
Care and Storage Tips
A little care keeps your handmade necklace looking its best. Store each piece flat or hung so the chain does not tangle or kink. Keep necklaces separated, since chains love to knot together in a jewelry box. Wipe plated finishes gently with a soft cloth after wearing to remove oils, and keep them away from moisture and harsh cleaners so the finish stays bright. Stored well, your piece will look great for years.
Start Creating Your Own Chain Necklace
Now you know two reliable ways to build a necklace, how to choose the style and length, and how to finish it so it lasts. Whether you assemble a ready-made strand or link every loop yourself, the steps are simple once you have done them once. Pull your materials together, work through it one connection at a time, and savor the act of building something with your own hands.
Still have questions? Reach our specialists at info@Atlantabeadcompany.com or by phone at +1 888-234-1234, and browse our blog for more detailed information about findings.
Frequently Asked Questions
Can I Assemble a Necklace Chain Without Any Specialized Tools?
You can make a simple necklace with just two pairs of pliers, a length of pre-made chain, jump rings, and a clasp. Cutting pliers help, but small scissors-style cutters work for thin chain in a pinch.
What Gauge Wire or Ring Size Should I Use?
Match the ring strength to the weight of your chain and pendant. Heavier designs call for thicker rings; delicate strands pair with finer ones. When unsure, start with a mid-size ring and test the hold.
Do I Have to Solder the Jump Rings?
No. For most everyday necklaces, a well-closed open ring is enough. Soldering creates a permanent, sealed connection, but it is optional and best left for pieces that take heavy wear.
What is the Easiest Chain Necklace for a Beginner to Make?
A pre-made cable or rolo chain finished with a lobster clasp and two jump rings. It uses Method 1 above and can be done in minutes.


