



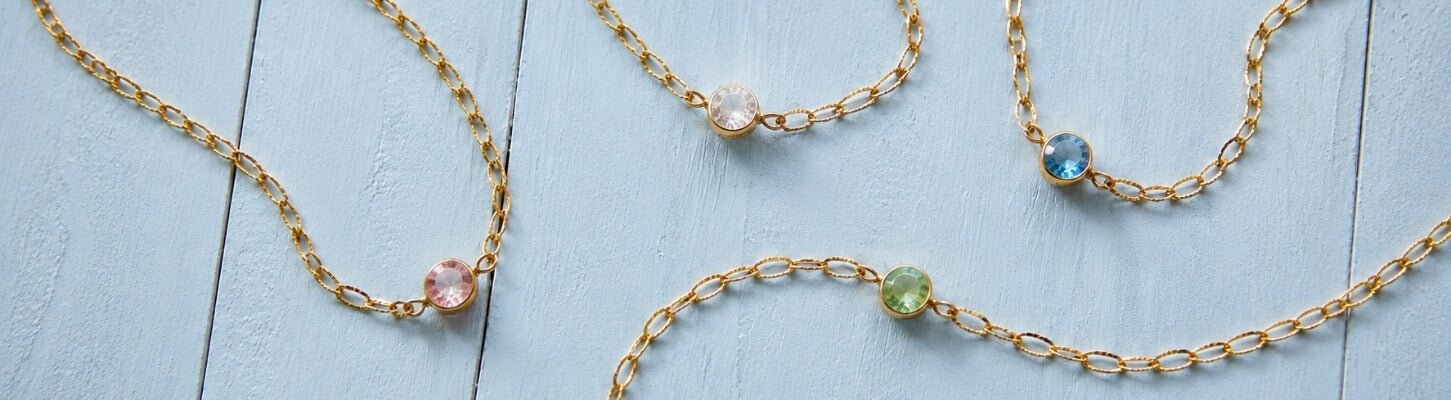
Want to create a stunning piece of jewelry that's uniquely yours? Learning how to make a choker necklace with beads is one of the most rewarding beginner projects you can start today—no experience required. With just a few quality beads, a length of stringing material, and a clasp, you can craft a piece that fits your style (and your neckline) perfectly. At Atlanta Findings, we supply the premium beads, clasps, charms, and chains that make every project simple, beautiful, and yours from the very first bead. Ready to turn a handful of beads into something you'll be proud to wear? Let's dive into the details.
Quick answer: To make a beaded choker, measure your neck and add room for fit (most chokers finish at 14 to 16 inches). Cut your stringing wire or cord, tape one end, and string your beads in your chosen pattern. Add a focal charm in the center if you like, then attach a clasp to each end using crimp beads or a secure knot. Trim the excess, and your choker is ready to wear.
Explore Our Categories


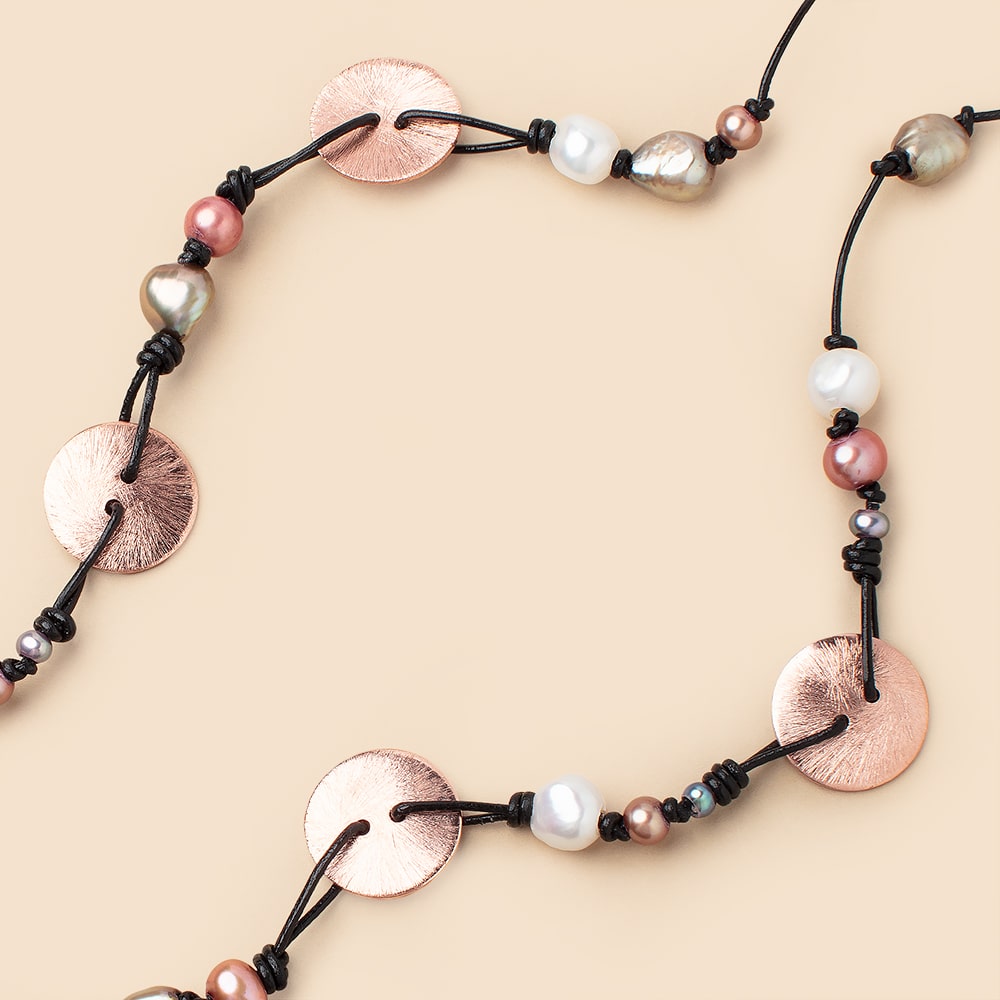
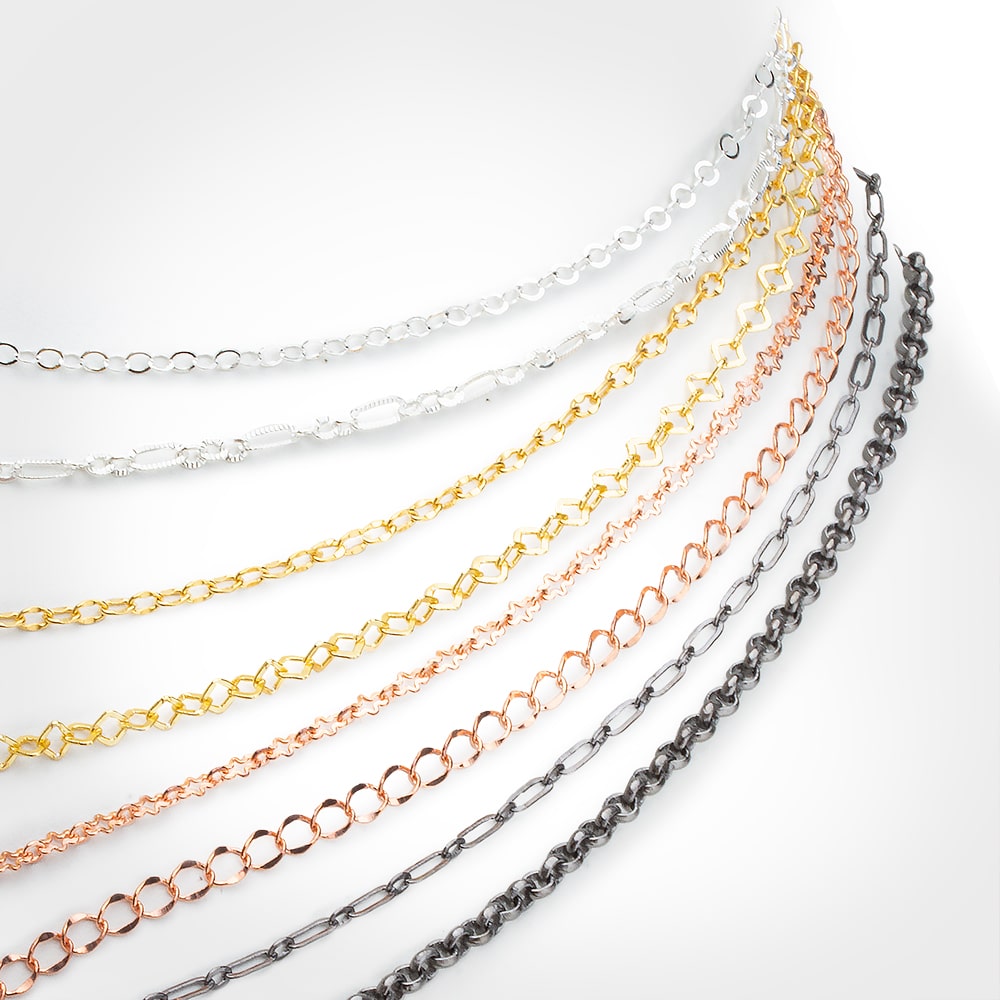
Table of contents
What You'll Need
Pull together everything on this list ahead of time, so that nothing interrupts you once the beads start going on.
-
Beads of your choice (try our round beads, disc beads, tube beads, or a mixed bead set)
-
Spacer beads to add rhythm and shine.
-
Beading wire or stretch cord
-
Crimp beads and a crimping tool (for the wire method)
-
A clasp, such as a lobster clasp
-
An optional focal charm
-
A short piece of metal link chain for an adjustable extender
How to Make a Beaded Choker Necklace: Step by Step
Work through the steps below, and your choker comes together in well under sixty minutes. Start by sizing and trimming.
-
Measure and cut. Loop a flexible tape measure around your neck at the exact height you'd like the finished choker to rest. Add about 4 inches to that number for finishing and breathing room, then cut your wire to length.
-
Secure the first end by sticking a short strip of tape close to the tip of the wire. Doing this keeps your beads anchored in place so none escape mid-project.
-
Begin threading, dropping each bead on in whatever sequence you mapped out. Mixing a few spacers between larger beads keeps the design balanced and lets each bead shine.
-
Add a center charm. If you want a focal point, string about half your beads, add your charm, then string the rest so the charm sits in the middle.
-
Attach the clasp. Thread one wire end through a crimp bead and the clasp, loop it back through the crimp bead and a few beads, then flatten the crimp with your tool. Repeat on the other side with a jump ring.
-
Trim and check. Snip the extra wire close to the beads, then gently tug to confirm everything is secure.
That's the core of how to make a choker necklace with beads using the classic wire-and-crimp method.
A Beginner-Friendly No-Crimp Option
If you don't own a crimping tool yet, stretch cord is a great starting point. Cut your cord a few inches longer than your finished length, string your beads, then tie a surgeon's knot and add a dot of jeweler's glue. Tuck the knot out of sight by slipping a final bead down over it. This no-tools approach makes a comfortable diy choker necklace you can slip on without a clasp.
Choosing Your Beads and Metals
The beads you pick set the whole mood of your beaded choker necklace. Smooth round beads read classic and elegant. Flat disc beads lie close to the skin for a sleek look. Faceted nugget beads catch the light for extra sparkle, and tube beads add structure to a bolder design.
We offer our components in gold-plated, silver-plated, rose gold, copper, brass, vermeil, and sterling silver finishes, so you can match the metal to your wardrobe. Warm gold-plated and rose gold tones suit a soft, romantic palette, while silver-plated and sterling silver give a crisp, modern finish. For a thick beaded choker, choose larger beads and string them snugly. For a delicate look, pair small beads with plenty of spacers.
Choker Length and Fit Guide
Length is the difference between a choker that sits perfectly and one that feels off. Use this guide as a starting point:
|
Style |
Finished length |
|
Snug choker |
14 inches |
|
Standard choker |
15 to 16 inches |
|
Loose choker |
16 to 17 inches |
Necks vary, so always measure first. To make your piece adjustable, attach a 2-inch piece of link chain to one end and a clasp to the other. You can then hook the clasp anywhere along the chain for a custom fit, which is helpful if you plan to give the necklace as a gift.
Styling and Layering Your Beaded Choker
A choker shines on its own, but it also layers beautifully. Pair a gold-plated bead choker with a longer chain for an effortless stacked look. Keep the choker as your shortest layer and let pieces below it graduate in length. A simple V-neck or off-the-shoulder top gives your choker room to be the star.
Tips for a Clean, Professional Finish
-
Lay your beads out in the full pattern before stringing so you can fine-tune the design.
-
Leave a little slack so the choker drapes comfortably and isn't tight.
-
Pull each crimp bead snug before flattening it to remove gaps.
-
Keep a few extra beads on hand to cover the knot or crimp for a polished edge.
Final Thoughts
Now that you know how to make a choker necklace with beads, the fun part begins: making it your own. Start with a simple pattern, pick beads and metals you love, and adjust the length until it sits just right. With every choker you finish, your technique sharpens, and the results look more polished. Whether you go for a delicate strand or a bold, thick design, the right beads and findings make all the difference. We're here to supply the quality components that turn your idea into a finished beaded choker necklace you'll be proud to wear or gift.
Need more help understanding how to make a choker necklace with beads. Contact our expert support team at info@Atlantabeadcompany.com or call +1 888-234-1234. Visit our blog for more tips and ideas.
Frequently Asked Questions
How Long Should a Beaded Choker Be?
Most adult chokers finish between 14 and 16 inches. Measure your neck and add room for comfort before cutting.
What Beads Work Best for a Choker?
Small to medium round, disc, and tube beads all work well. Spacers help control spacing and add shine.
Can I Make a Choker Without Any Tools?
Yes. Use a stretch cord and a secure knot for a no-crimp, no-clasp design.
How Do I Keep Beads From Sliding Around?
Tape one end while stringing and add spacer beads between larger beads to hold the pattern.
Can I Make the Choker Adjustable?
Add a short length of link chain as an extender so the clasp can hook at different points.
Should I Choose Gold or Silver?
Pick the finish you wear most. We offer gold-plated, silver-plated, rose gold, copper, brass, vermeil, and sterling silver so you can match any look.


